Social media verification has become a symbol of credibility and influence. That coveted blue check mark on Facebook and Instagram not only authenticates your profile or page but also enhances your brand’s trustworthiness. If you’re a business owner, influencer, or public figure looking to boost your social media presence, getting verified on Meta platforms can be a game-changer.
In this blog post, we’ll walk you through the process of getting verified on Facebook and Instagram, including the criteria you need to meet and tips for submitting a successful verification request. We’ll also cover how to contact Meta once you’ve been verified.
What Does It Mean to Be Verified on Meta?
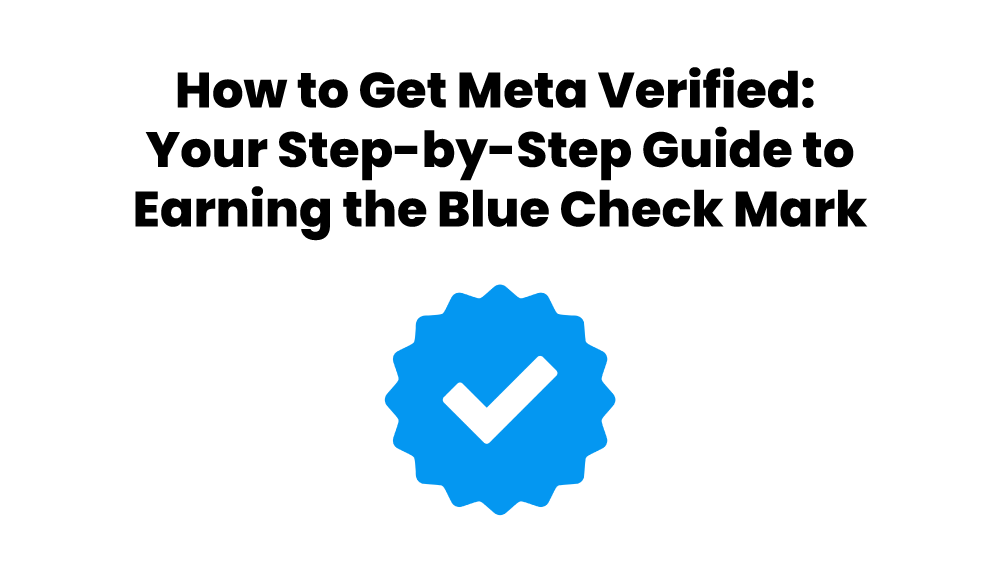
When you see the blue check mark next to a Facebook or Instagram account, it means that Meta has confirmed the account’s authenticity. Verified accounts are typically those belonging to public figures, celebrities, global brands, or businesses that are at a high risk of being impersonated. The blue check mark reassures followers that the account is genuine and not a fake or fan account.
Why Should You Get Verified?
Getting verified comes with several benefits:
- Increased Credibility: Followers and customers are more likely to trust verified accounts.
- Higher Visibility: Verified accounts may appear higher in search results, making it easier for people to find your profile or page.
- Access to Special Features: Some features on Facebook and Instagram, such as early access to new tools, may only be available to verified accounts.
- Brand Protection: Verification helps prevent impersonation and fraud, safeguarding your brand’s reputation.
Step-by-Step Guide to Getting Verified on Facebook and Instagram
1. Ensure You Meet the Criteria
Before you apply for verification, make sure your account meets the following criteria:
- Authentic: Your account should represent a real person, registered business, or entity.
- Complete: Your profile should be public and fully completed with a profile picture, bio, and at least one post.
- Notable: Meta prioritizes accounts that are frequently searched for, mentioned in news sources, or represent well-known figures, brands, or businesses.
- Unique: Only one account per entity can be verified, except for language-specific accounts.
2. Gather the Necessary Documentation
Depending on whether you’re applying as an individual or business, you’ll need to provide appropriate documentation:
- Individuals: A government-issued ID (e.g., passport, driver’s license).
- Businesses: A utility bill, articles of incorporation, or your company’s tax filing documents.
3. Submit Your Verification Request
Follow these steps to apply for verification:
- For Facebook:
- Go to your Facebook Page.
- Click on “Settings.”
- Select “General” and then “Page Verification.”
- Click “Verify this Page” and follow the prompts.
- For Instagram:
- Open your Instagram profile.
- Tap the three horizontal lines in the top-right corner.
- Select “Settings” and then “Account.”
- Tap “Request Verification.”
- Fill out the form, including your full name, account category, and the required documents.
4. Wait for Meta’s Decision
After submitting your request, Meta will review your application and notify you via the platform if your account has been verified. This process may take a few days to several weeks.
After You’re Verified: How to Contact Meta
Once your account has been verified, it’s important to know how to contact Meta for any follow-up questions or issues related to your verified status. Here’s how you can get in touch:
- Through the Help Center: Visit the Facebook or Instagram Help Center and navigate to the “Help with Verified Accounts” section. This area typically covers common issues and provides contact forms for more specific queries.
- Via the Meta Business Suite: If you manage a verified business account, you can reach out to Meta’s support team directly through the Meta Business Suite. This tool is especially helpful for addressing issues related to your business page or ad account.
- Contact Support via the App: For Instagram, you can go to “Settings” > “Help” > “Report a Problem” to reach out to Instagram support directly through the app.
Conclusion
Earning the blue check mark on Facebook and Instagram can significantly enhance your online presence and build trust with your audience. By following the steps outlined in this guide, you’ll be well on your way to securing that coveted verification status. And once you’re verified, you’ll have direct lines of communication with Meta to ensure your account remains secure and well-managed.
At Chicklet Marketing, we understand the importance of a verified social media presence in building your brand. If you need assistance with your social media strategy or navigating the verification process, feel free to reach out to us. We’re here to help you every step of the way!
Do you have questions on how to best reach your target audience? Do you have a marketing budget but aren’t sure how to allocate those funds for an optimal ROI? Are you in need of an updated website? If you have any questions or need assistance with your marketing efforts, we want to hear from you! Schedule your FREE Consultation to find out how we may be able to help take your business to the next level.
“The secret to getting ahead is getting started.” – Mark Twain

